This page is dedicated to my brothers MB5 which was purchased from ebay (at a little more than he wanted to pay!) and shows what can be achieved in a very short time span without spending silly amounts of money. As you will see from the finished pictures you can have a very nice little classic bike that does generate a lot of interest at classic bike shows
This is his account of the restoration. If you would like to know more about this restoration you can contact him at steve@mb5.co.uk
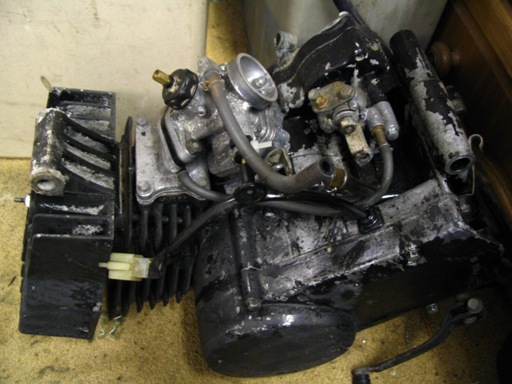
Oh my god! what have I done! If you think the pictures above and below dont look too bad, please bear in mind that I spent about 2 hours cleaning it with a combination of Gunk, Brillo pads and a high power pressure washer! The bike had last run in the eighties and had been stored since. There was still some fuel in the tank (probably 2 or 4 star) so I drained the float bowl, let it refill, turned on the ignition (MB5's dont need a battery to run) a bit of choke and hey presto! it started 3rd kick and sat down to a steady idle. I think it is testiment to Honda's build quality that this could be achieved after all those years stood.
Some of the horror's found when the tank was removed
As you can see the hand painted matt black was not exactly expertly applied!
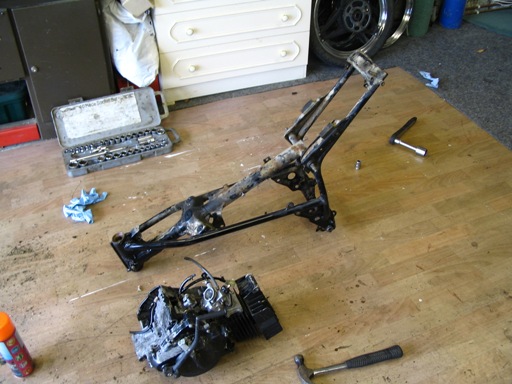
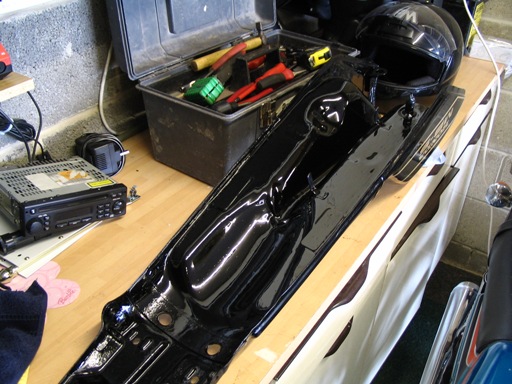
The preparation begins! (hammer optional but it helps!). No thats not the swinging arm, it's the complete frame!
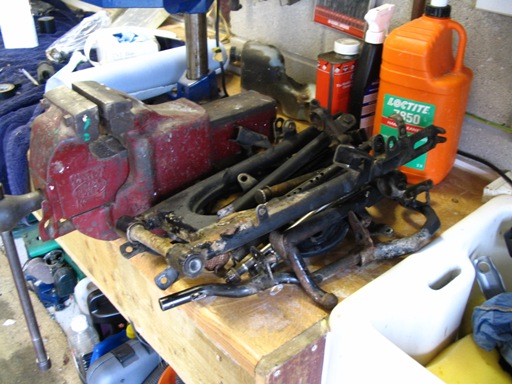
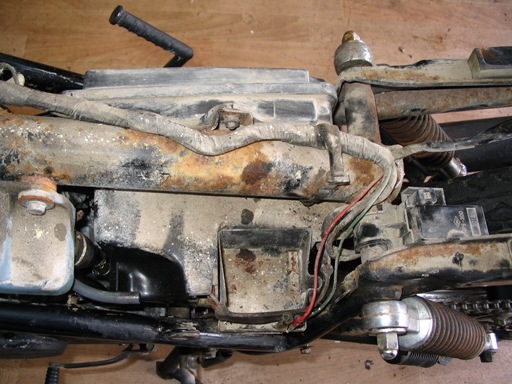
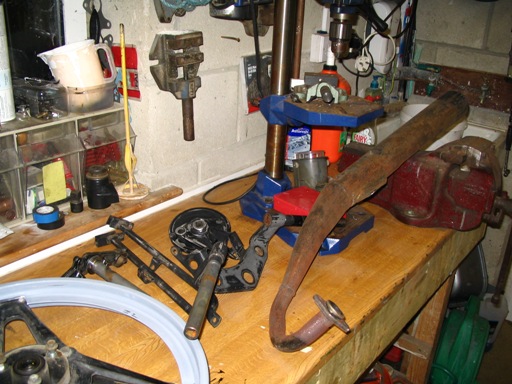
Various rusty parts
I seem to recall that the exhaust on this model was black not red (rust)! Check out the finished bike, the exhaust is the same one in this picture.
The tank was about the only part that didnt need any major restoration. The underside was painted and the other areas only required a bit of T Cut to bring it back to life.
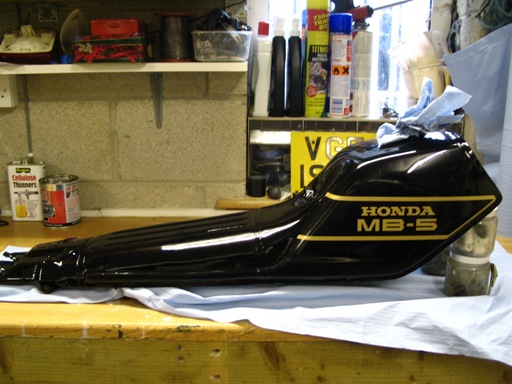
The tank is quite an unusual design, in that most of it extends under the seat.
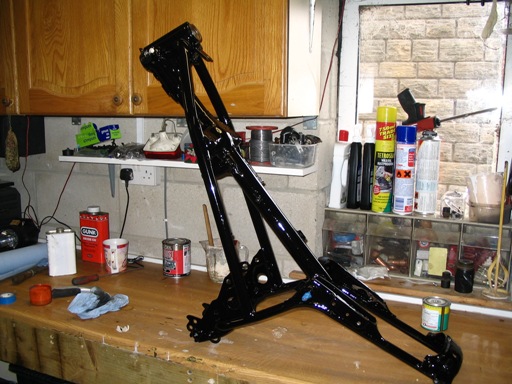
Frame was hand painted with Ronseal ("it does exactley what it says on the tin!") with quite amazing results. Nobody so far has guessed that it has been hand painted the finished result is that good!
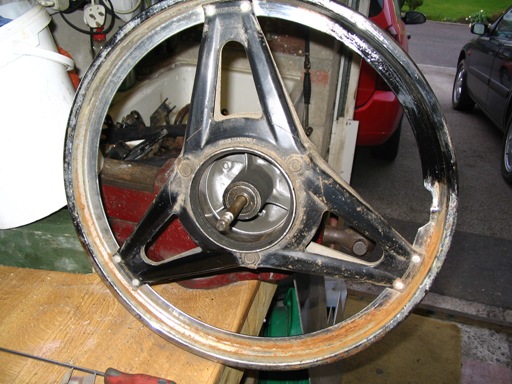
Wheels were a big problem. as you can see the chrome rims were totally shot. Has anybody ever dismantled this type of wheel to have the rims re-chromed then had them re-built? Please let me know if you have.
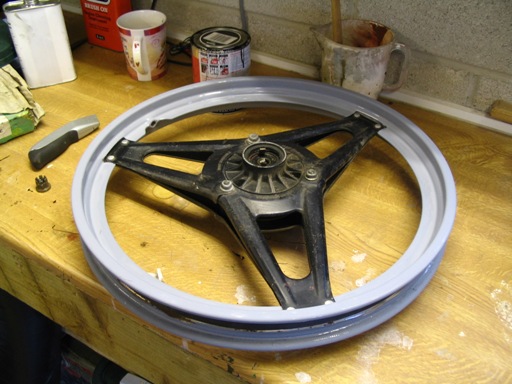
An option was to paint over the old chrome rims
This did not prove too succesful. Although they do not look too bad in the photo's, the overal finish was poor
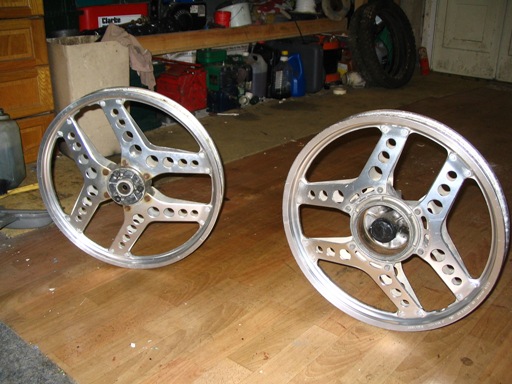
After an extensive search no replacement wheels could be found, as most were in an even worse condition. After purchasing my next project (an MBX80) it came with a spare set of wheels in suprisingly good condition. Closer inspection revealed that these would indeed fit with a few modifications (mainly spacer mods). Although not standard they are period and do suit the bike well.
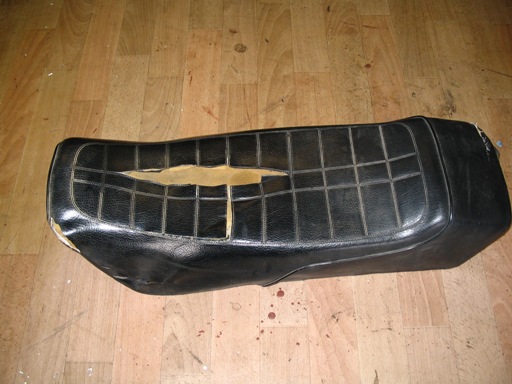
Seat was in a typically poor state!

But the plastic base and foam was salvageable.
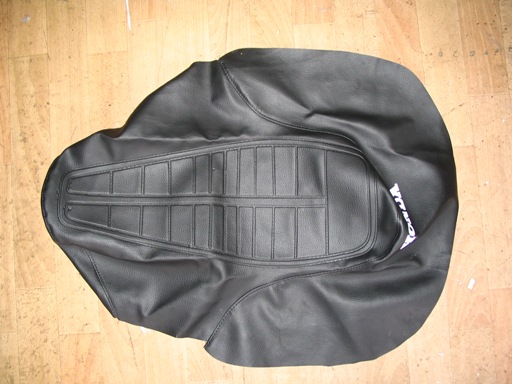
The solution to this was to purchase an original looking item from Jolly Moto www.50cc.nl a very good source of new MB5 pattern & genuine parts.
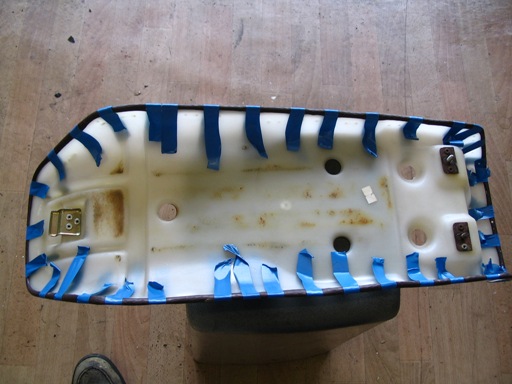
First I placed an edging strip (aerial coax cable outer sheath) around the base to stop any tearing of the new cover.

With judicial use of my wifes pegs (thanks Mel) the seat was stretched until the desired fit was achieved (remember to protect your dining room table with a tele tubbies cloth when carring this out!).
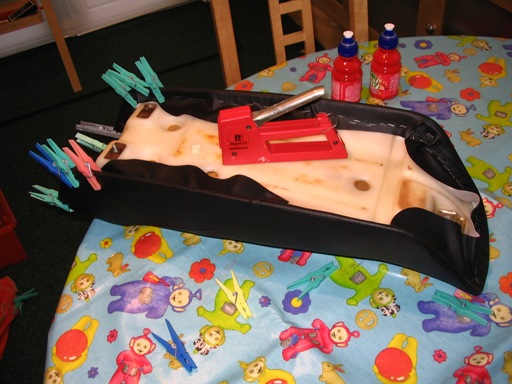
Careful stapling keeps everything in check.
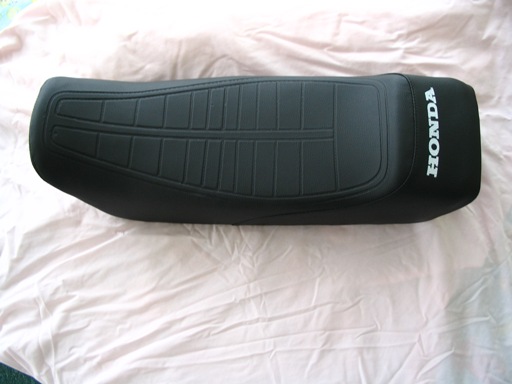
I was more that happy with the end product which gives the appearance of a factory fit seat.
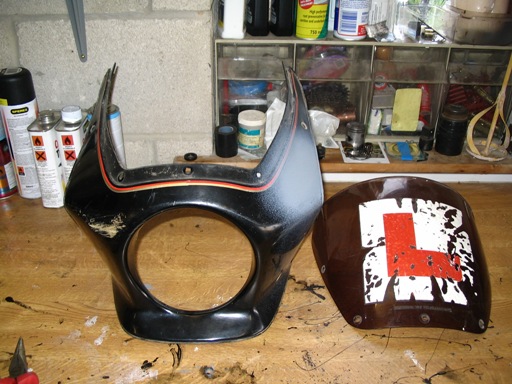
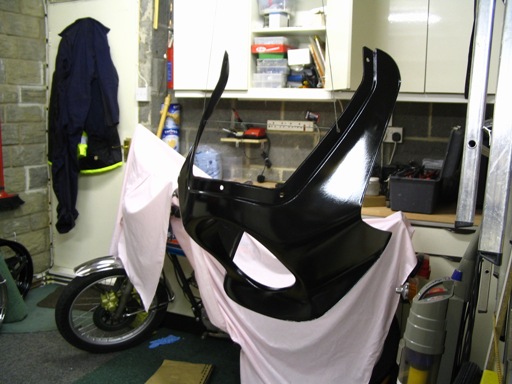
It is rare to find an MB5 with its original cockpit fairing as normally this is the first thing to bite the dust in an accident. Screen was original with a very "sticky" L plate attached.
A common problem with the fairing is over time the mounting holes elongate. To solve this, fibreglass reinforcing was applied to the mounting areas and then new holes were drilled.
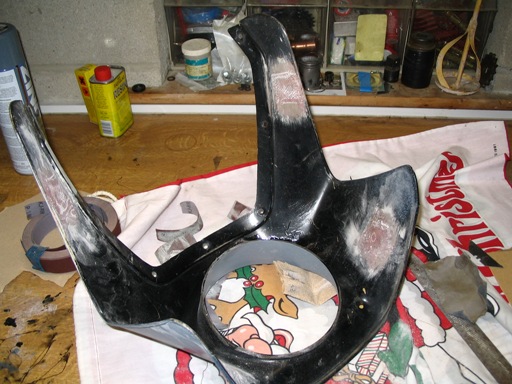
Repaired fairing ready for painting and re-drilling of mounting holes.
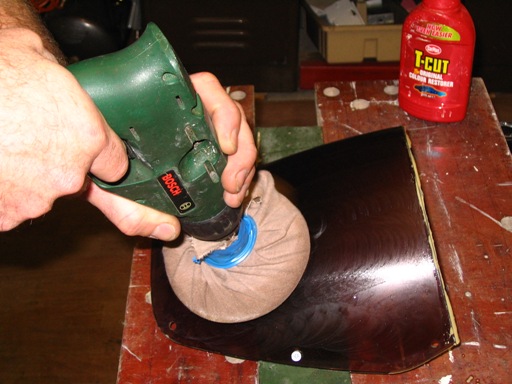
If you have a good standard screen which is scratched, it can be brought back to life with a bit of T-cut and a fair amount of buffing!
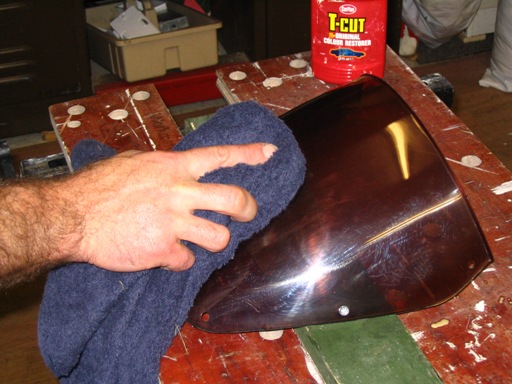
it is worth it though and it keeps an original fit item on the bike.
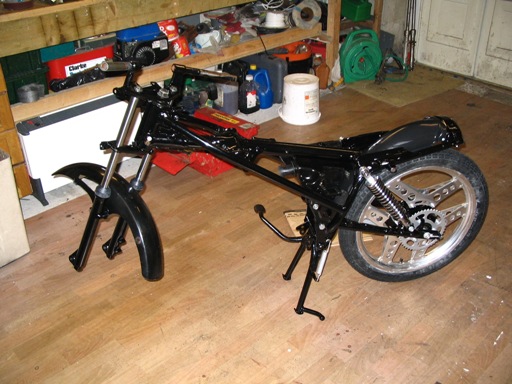
After a few coats of gloss black, its looking good .

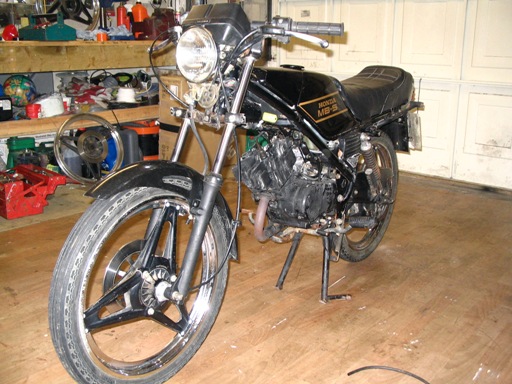
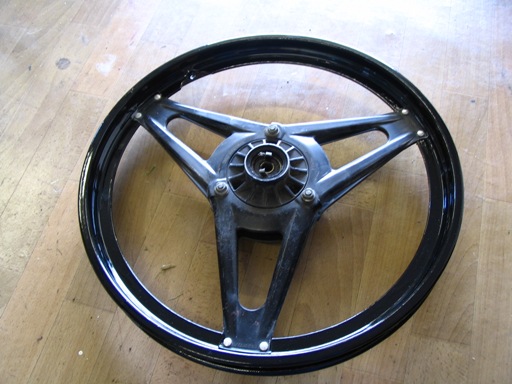
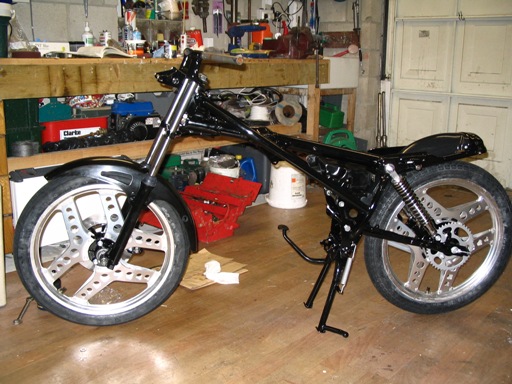
Wheels with hubs now painted black and rims polished.
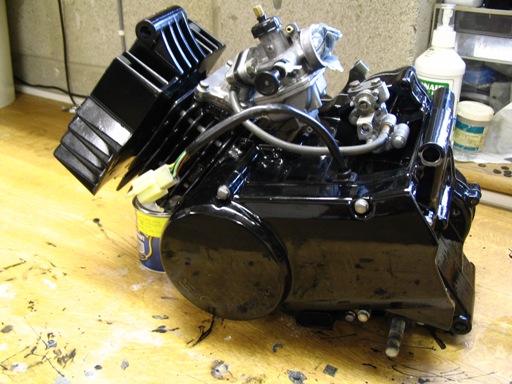
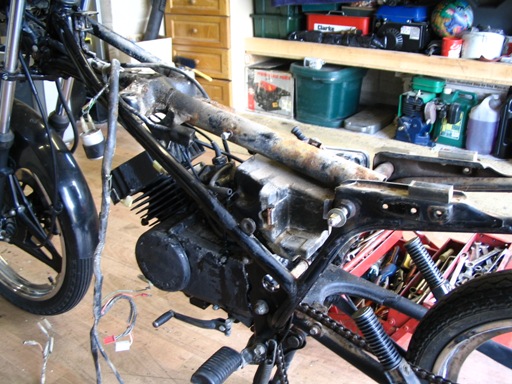
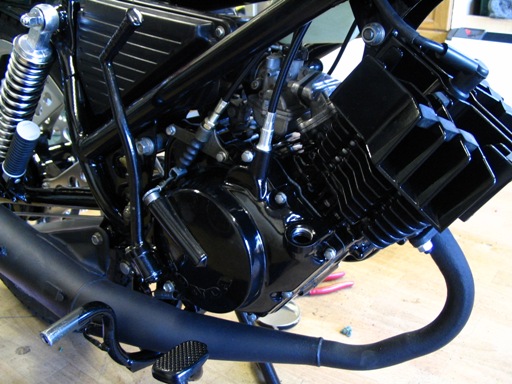
Engine now ready for installation back into the frame (note difference in finish compared to as purchased picture)
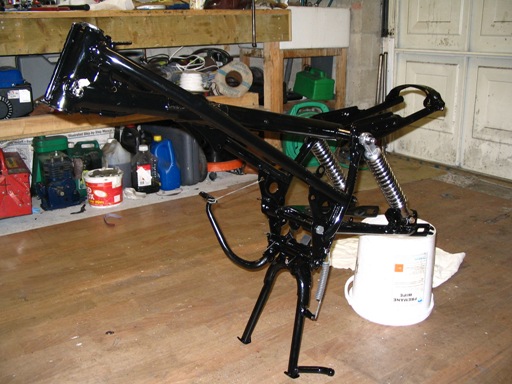
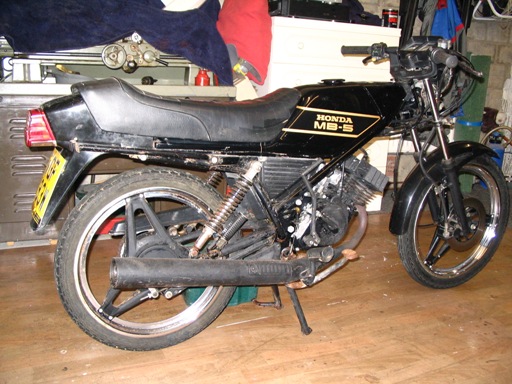
Now comes the best bit! The start of the re-assembly (note nice new shiny rear shocks)
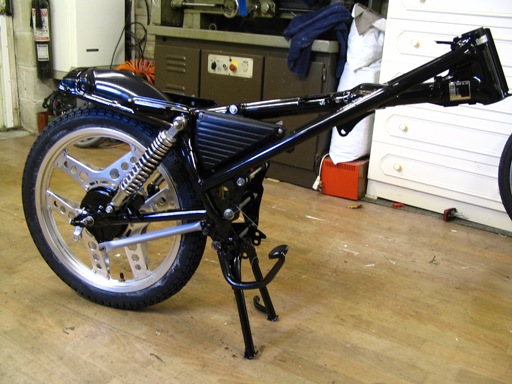
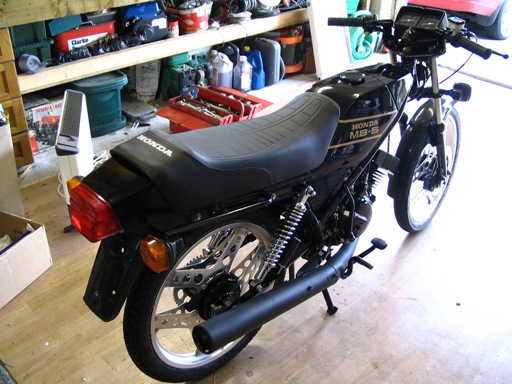
Rear "MBX type" wheel fitted without any modifications required. The MB5 brake hub can be used as it is a straight fit into the MBX wheel
Front forks were in surprisingly good condition. New seals and dust cap were fitted though.
Front wheel now in, however it is 4mm wider than the MB5 wheel. It will fit but it is better to machine the spacer to suit.
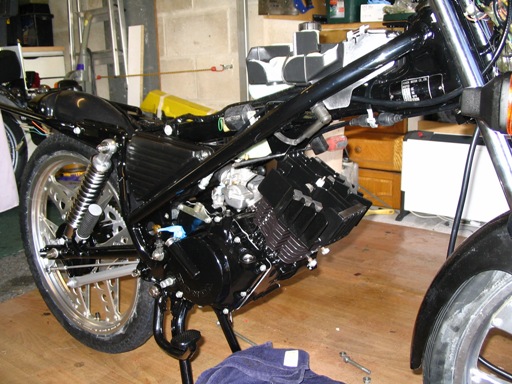
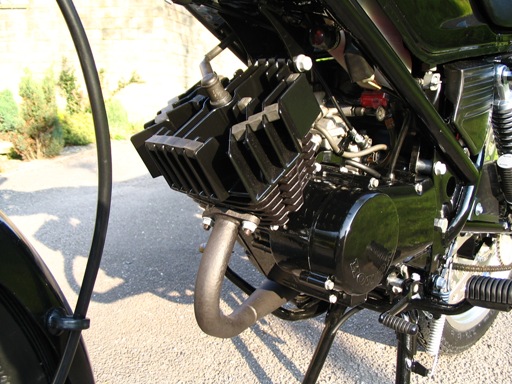
Engine now back where it belongs.
Engine installation now complete.

Tank, with under-seat design.
Nearly there! Open garage door beckons.
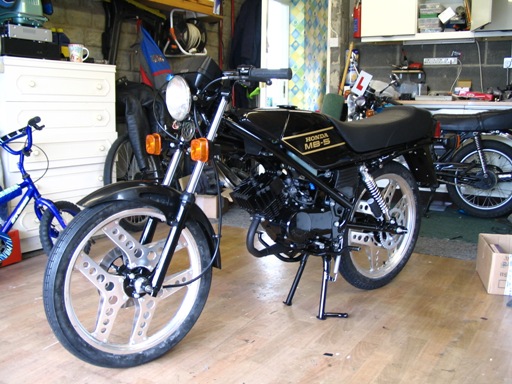
Final few parts required and the restoration is nearly finished.
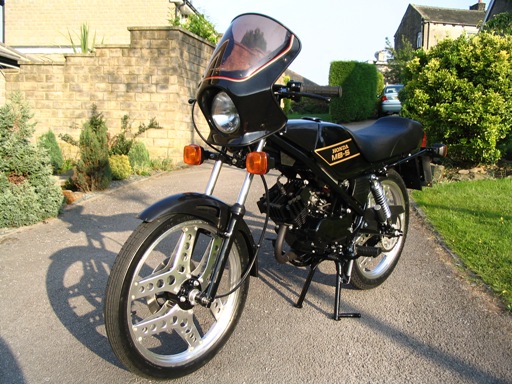
Here it is first time out of the garage into the early evening sunshine.
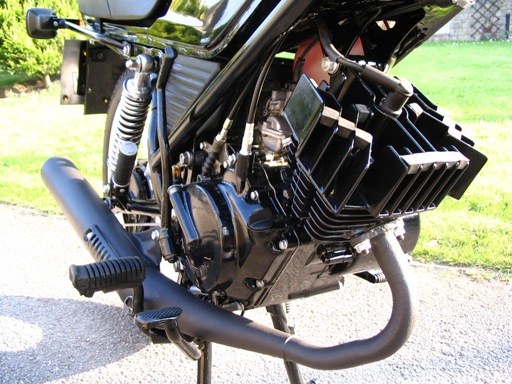
The paint finish on the engine was very impressive. Note original exhaust compared to earlier picture.
As you can see from this picture also.

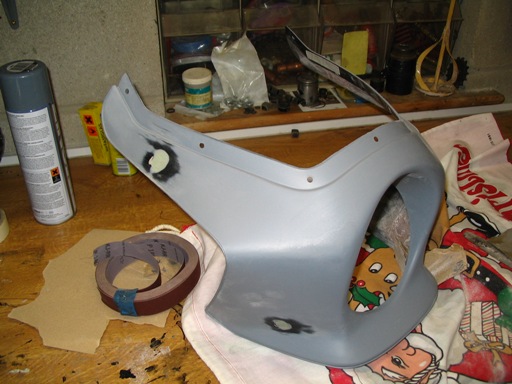
Fairing and original screen restored.
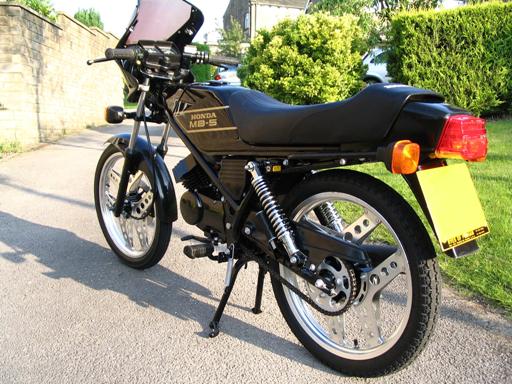
It was well worth the effort, and I was very happy with the end result.
If you would like to know more about this restoration or if you have any technical questions about the build, contact me at steve@mb5.co.uk